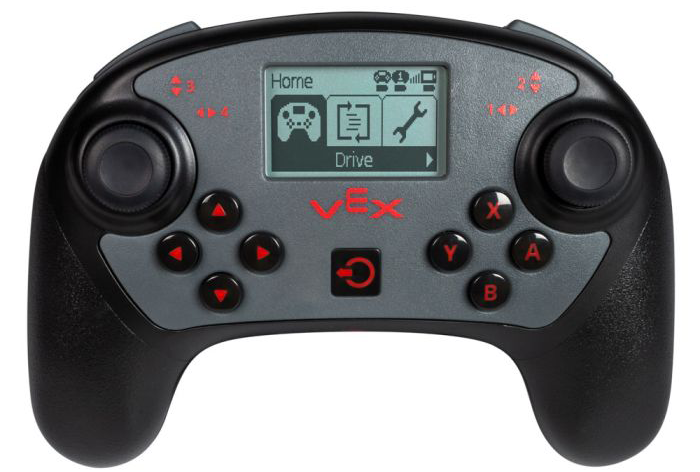
We are going to connect a controller to our robot. There are many ways to do this, but we will write our own custom code so that we can make each setting exactly what we want.
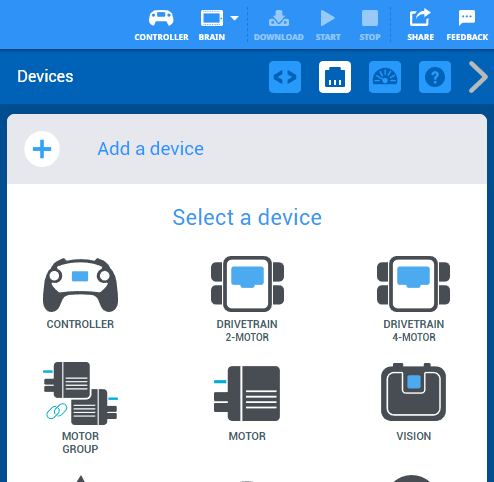
Add your controller in the DEVICES menu.
Then add your two motors. You can name them whatever you want, but it is best to give them names that describe what they do. LeftMotor is a good descriptive name. Use CamelCase for names (capitalize each word, but use no spaces or symbols). When you have added both the left and right drive motors, click DONE.
There are three ways that we can set up our controller:
Tank Control
Arcade Control
Split Arcade Control
Each design has advantages and disadvantages.
TANK DRIVE
This design allows the left joystick to control the left side of the chassis and the right joystick to control the right side of the chassis. Gamers may struggle, but this format can provide more turning options than an Arcade Drive.
PROS:Better control, more turning options
CONS: Always requires both joysticks, less intuitive for gamers
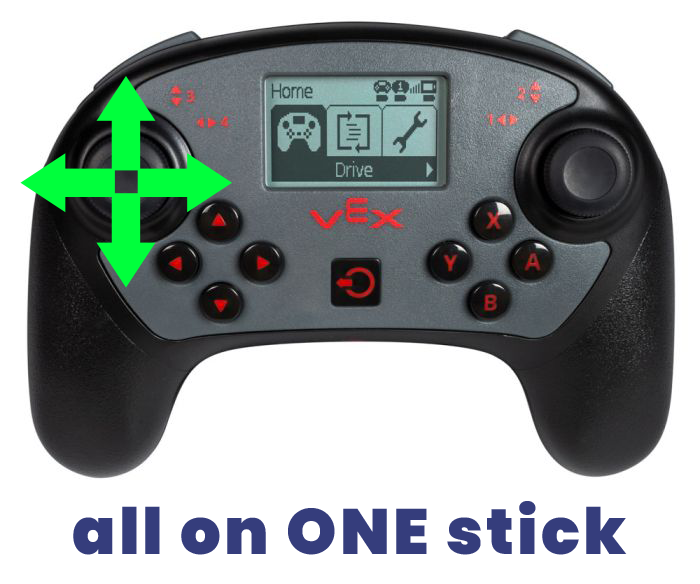
ARCADE DRIVE
This is the most like a video game controller. One joystick will control both the forward-backward AND the turning movement. (You can program either the left or the right stick.)
PROS:Smooth movement, only uses one stick
CONS: Less motor control, less maneuverability
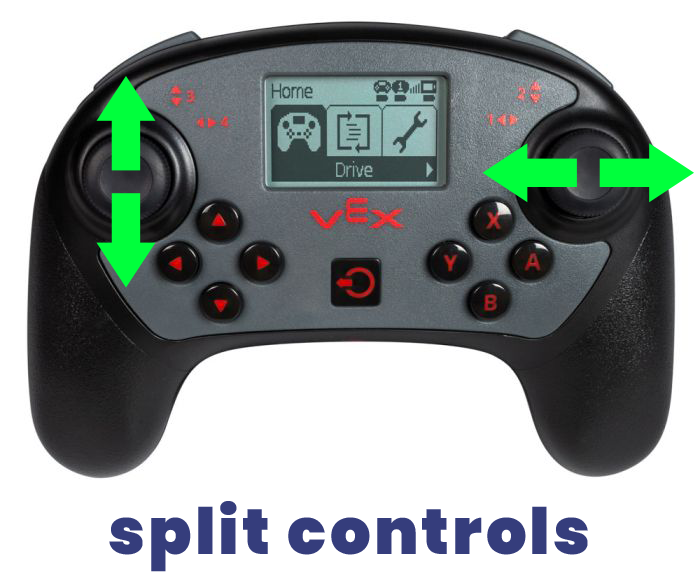
SPLIT ARCADE DRIVE
This takes the functions of an Arcade Drive and splits it over both sticks. The left stick moves forward-backward while the right stick turns left and right. (You can reverse the sides if you want.)
PROS:Smooth movement
CONS: Always requires both joysticks
Before a controller can send information to a robot brain, the two components must be “paired“.
To pair a controller to its brain, you must have a radio attached to the brain. Then temporarily connect the controller to the brain using a smart cable. Once a connection has been established, disconnect the cable. When pairing is successful, the radio will begin flashing red.
Task 1:
Create a program for each of the three types of controllers. Test them out by driving on the field to see which one you prefer.